Easy & Simple Bouquet Step by Step Guide
Creating your own simple bouquet is completely doable. With a little practice you will be able to whip up a bouquet for all types of events. Whether it’s for a special event like a wedding, a holiday celebration, or just to brighten up your home. Making a bouquet allows you to choose flowers that you like best, style, and the occasion. It also allows you to grow your own flowers for a spectacular bouquet. Who says bouquets are just for weddings?

Materials You’ll Need:
- Fresh flowers (your choice of type, color, and style)
- Greenery (e.g., ferns, eucalyptus, dusty miller, myrtle, mint, basil, and sage.)
- Floral tape (to hold the bouquet together)
- Floral wire (optional, for extra support if you are making a large bouquet)
- Vase or water source (for hydration if you’re not arranging the bouquet immediately)
- Ribbon (for holding the bouquet together and covering floral tape)
- Scissors or floral cutters
- Flower food (optional, to extend the life of your bouquet)
Step-by-Step Instructions: Simple Bouquet
1. Select Your Flowers and Greenery:
- Main Flowers: Choose a variety of flowers in different shapes, sizes, and colors. For example:
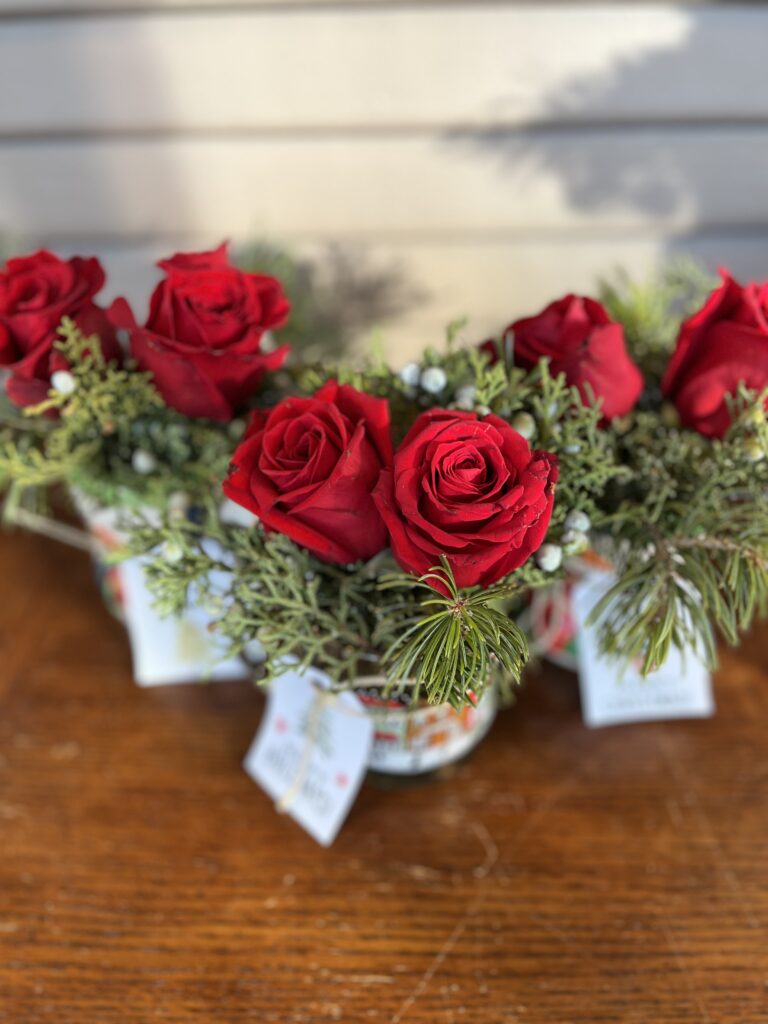
- For a classic bouquet: Roses, tulips, lilies, carnations, and hydrangeas.
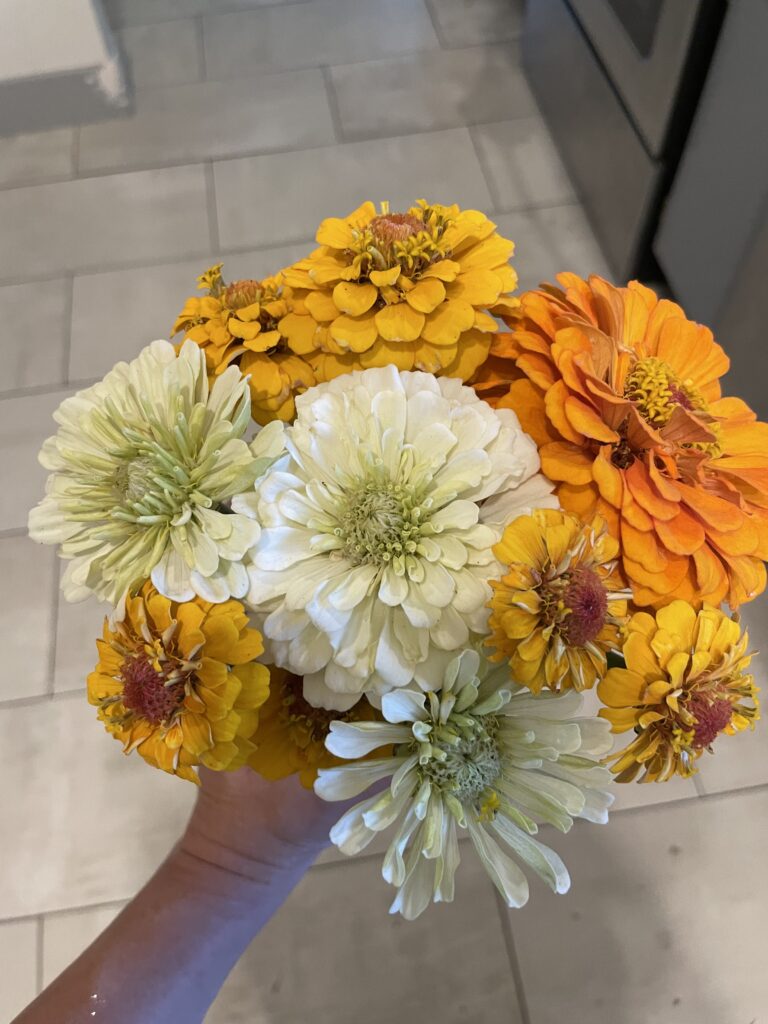
- For a seasonal bouquet: tulips and peonies for spring or dahlias and sunflowers for summer.
- Secondary Flower: secondary flower makes the arrangement look complete. Use flowers that will complement the bouquet with colors, textures, or smells such as baby’s breath, stock, sweet peas, statice, feverfew, yarrow, and snapdragons to name a few.
- Greenery: Add depth and texture with greenery like eucalyptus, dusty miller, or basil. Greenery not only gives your bouquet structure but also enhances the colors of the flowers. I also like to just walk my garden and see what I can find. My favorite greenery has been sage.
- Color Palette: Think about the colors you want. Do you want a softer look with soft pastels colors like pink, whites, or purples or make a bold statement with bright colors like red, yellow, and orange. It’s all up to you.
2. Prepare Your Flowers:
- Remove any leaves or thorns from the lower part of the stems. You do not want any greenery in the water or it will mold and the flowers will die faster.
- Lay your flowers and greener out so they will be easy to grab with one hand. I like to have all the main flowers together, then the filler flower, then greenery to make an assembly line.
3. Start Arranging the Bouquet:
- Begin with the focal point: Start with one main flower (like a rose, lily, or peony) as the centerpiece of your bouquet.
- Add flowers and greenery in a spiral pattern: As you add each flower, rotate the stems slightly to create a natural, rounded shape. Always place flowers at an angle, and turn the bouquet as you go.
- Balance the colors: Distribute the colors evenly, mixing bold, vibrant flowers with softer tones. If you’re using greenery, add sprigs between the flowers for texture.
- Consider height: Keep the flowers at varying heights. The tallest flowers should go in the center, and shorter flowers around the edges. Also bring your focal flower a little higher than the others so it will stick out.
4. Secure the Bouquet:
- Hold the bouquet: Keep the stems in your hand, making sure you’re happy with the arrangement.
- Bind with floral wire: If you are making a large bouquet you will want to use floral wire to keep the bouquet secure. Where you are holding the bouquet wrap wire tightly around the stems.
- Bind with floral tape: Starting at the top of the stems use floral tape to wrap around the stems to the bottom. Floral tape only sticks once it has been stretched and to itself. Start at the top of the stems and make a continuous spiral to the bottom, leaving 1-2 inches of the bottom without tape.
- Trim the stems: Once you’ve secured the bouquet, trim the stems to your desired length, ensuring they’re even for a neat finish.
5. Wrap the Stems:
- Create a beautiful wrap: Take a ribbon, twine, or decorative string and wrap it tightly around the base of the stems to cover the floral tape. You can tie a bow for a cute touch or simply secure it with a knot or floral pins.
- For a rustic look, you might opt for burlap ribbon, while satin or velvet ribbon gives a more elegant, formal finish.
6. Care
- Place in water: If you’re not using the bouquet immediately, place it in a vase of water. Be sure to use the floral food packet if you want to help the flowers last longer.
- Place in a cool dark place: keeping your flowers cool and out of direct sunlight will keep the flowers looking fresh and beautiful. A basement, cool room, or refrigerator is best. DO NOT put our flowers too close to the back of the fridge where they could possibly freeze. This will kill the flowers…ask me how I know.

Additional Tips:
- Flower Combinations: Try combining different textures and shapes of flowers. For instance, combine soft, round flowers like peonies with spiky flowers like delphinium or with wispy filler flowers like baby’s breath.
- Size and Shape: For a more formal look, arrange the flowers in a more symmetrical, tight, rounded shape. For a wildflower or rustic bouquet, go for a looser, more organic feel.
- Flower Lifespan: If you want your bouquet to last longer, make sure to change the water regularly, trim the stems at an angle every few days,
- Personalization: Consider the meaning of the flowers! For example, roses represent love, lilies represent purity, and daisies symbolize innocence and simplicity. You can choose flowers with personal significance to you or the recipient. Or give a gift of someone’s birth flower for their birthday! Don’t know the birth flower? I have a post about it! Search the month in the search bar and it will come right up!
There is no schooling or degree you need to make your own bouquets, you got this! It is also so fun and will create more beauty in your home. As always
Grow flowers to heal your soul,
Beth