Easy Seed Starting for Beautiful Flowers: Tips and Tricks
Seed starting flowers can be intimidating, but once you get the hang of it you will realize how easy it is! I also like to remind myself and others that seeds want to grow. Here is all you need to know to have the confidence to start your own flowers from seeds.
1. Choosing the Right Seeds for Seed Starting Flowers
- Last Frost Date & Climate Zone: Before you plant your seeds you will need to know your last frost date, so you know when to plant your seeds. This can be found with a simple google search. Knowing your climate zone is also helpful if you are planting perennial flowers. Climate zones can also be found with a simple google search as well.
- Seed Starting Flowers Annuals vs Perennials: Decide if you want annuals (flowers that bloom for one season) or perennials (flowers that come back year after year). Just note that annuals are easier to start from seed, so they are great for beginners.
- Seed packet info: Always read the seed packet! It contains so much good information like planting depth, spacing, and where to plant your seeds. .
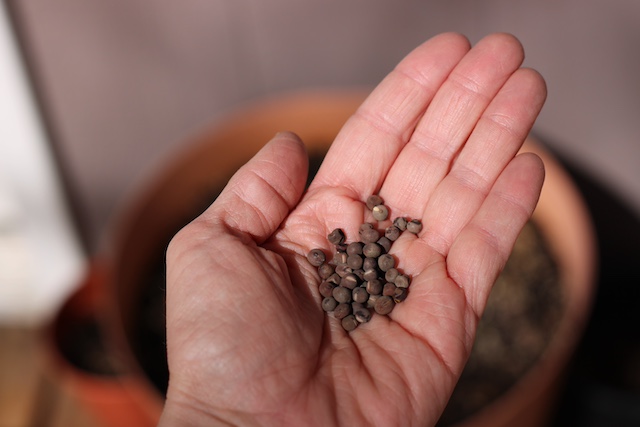
- Where to get seeds: You can get seeds from almost anywhere, I have even had success growing seeds I got at the dollar store. Buy seeds wherever you like, but you can get some really beautiful varieties if you shop online. Some of my favorites are Johnny’s Selected Seeds, Botanical Interest, Baker Creek Rare Seeds and TrueLeaf Market.
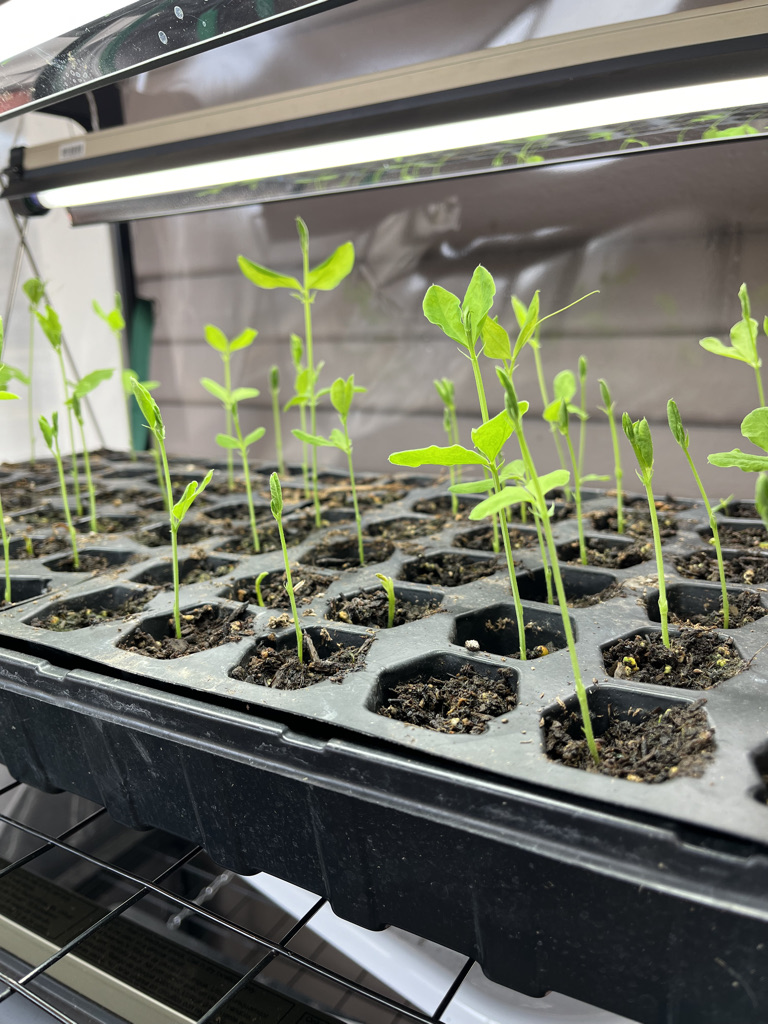
2. Prepare the Containers…Maybe
Some flowers will produce more of a harvest if you seed start flowers indoors before your last frost date. It also allows you to get a sooner harvest and you can keep a closer eye on your baby seedlings. Many seeds do not need to be started indoors, and can be directly planted in your garden. If you plan to directly plant in your garden you can skip this and the next step.
- Seed trays, containers, or soil blockers: You can use seed trays, small pots, or even repurposed items like egg cartons or yogurt cups. Just make sure there are drainage holes. Soil blockers are great if you want to lower your plastic use, but I don’t recommend them for beginners.
- Good drainage: Flowers don’t like sitting in waterlogged soil, so ensure your container drains well. If I am using reusable containers I buy a glass pan from a thrift store to put my containers in to contain any dripping water.
- Clean containers: Make sure your pots are clean to prevent the spread of disease to your new seedlings.
Grow Lights: You will need to purchase grow lights, a sunny windowsill will not be enough light to grow strong seedlings. You will also want the light as close the the plant as possible to prevent your plants from getting “leggie” (the plant will grow really tall with a thin stem and fall over)
3. Use Good Quality Soil
- Seed-starting mix: You can use a lightweight seed-starting mix which allows for good water retention without becoming too soggy, but has not or little nutrients in it and you will need to use a liquid fertilizer for your plants.
- Potting Soil: This is best for beginners because most potting soil has fertilizer in it. Just take out can sticks or chunks when planting. I also suggest you do not skimp on quality because it will greatly affect the quality of your plants.
4. Plant the Seeds
- Planting depth: When seed starting flowers refer to the seed packet for the correct planting depth. As a rule of thumb, plant seeds about 2-3 times the depth of the seed itself. I like to use my finger or the back of a sharpie for the perfect little hole.
- Seeds: Plant two to three seeds per container. If both of the seeds come up you can cut off the weaker plant leaving the stronger plant to grow.
5. Watering and Moisture
- Consistent moisture: Keep the soil damp, but not soaking wet. I mist the soil with a spray bottle or gently water with a watering can for outdoor plants. This is the most “babying” you will need to do, once your seeds have sprouted they are more resilient.
- Avoid over-watering: Once your plants have started to grow let the surface dry out slightly between waterings to prevent mold or fungus from growing.
6. Light and Warmth
- Sunlight: When seed starting flowers most seeds do not need light to germinate. It will say on the seed packet if the seeds do.
- Heat: Seeds will germinate faster with warmth. Place your containers in a warm spot or directly under your grow lights.
7. Germination and Thinning
- Patience is key: Germination times vary, but most flowers take about 7-21 days to sprout. It usually says on the seed packet how long it takes for the seed to germinate.
- Thin the seedlings: Once seedlings have a few leaves, thin them out so there is only one seed per container. This helps each plant get the light, water, and nutrients it needs to grow strong. You can also separate the extra seedling to another container if you want extra plants.
8. Hardening Off the Seedlings
- Hardening off: Around a week before planting outside, begin hardening off the seedlings by gradually exposing them to outdoor conditions. In the morning sun, set out your plants for 1-2 hours, then bring them back inside. The next day for 3-4 hours, the next day 5-6, ect.
- Make sure your night temperatures will not be lower than 32 degrees, or your plants will die.
9. Transplanting to the Garden
- Prepare your garden bed: Loosen the soil and add any needed amendments to your soil. An inch of compost is a good way to go if you don’t want to do a soil test.
- Plant at the right time: Most flowers will die if night temperatures get lower than freezing (32 degrees). Don’t plant your transplants out until after your last frost date. (This can be found with a simple google search of your location). Wait until night temperatures do not go lower than 32 degrees. I wait until night temperatures are not lower than 40 to be safe.
- Watering after transplanting: Water well after planting. This will help your plants from the stress of transplanting.
10. Ongoing Care
- Regular watering: Water your plants as needed, usually every few days. Most flowers like deep, infrequent watering to encourage strong root growth.
- Fertilizing: Some flowers benefit from occasional feeding with a liquid fertilizer. Follow the instructions on the fertilizer for best results.
- Deadheading: Remove dead flowers regularly to encourage new blooms and increase your harvest.
Bonus Tip For Seed Starting Flowers
Label your seeds: It’s easy to forget which flower is which, so label your pots with the flower name and the date you planted them.
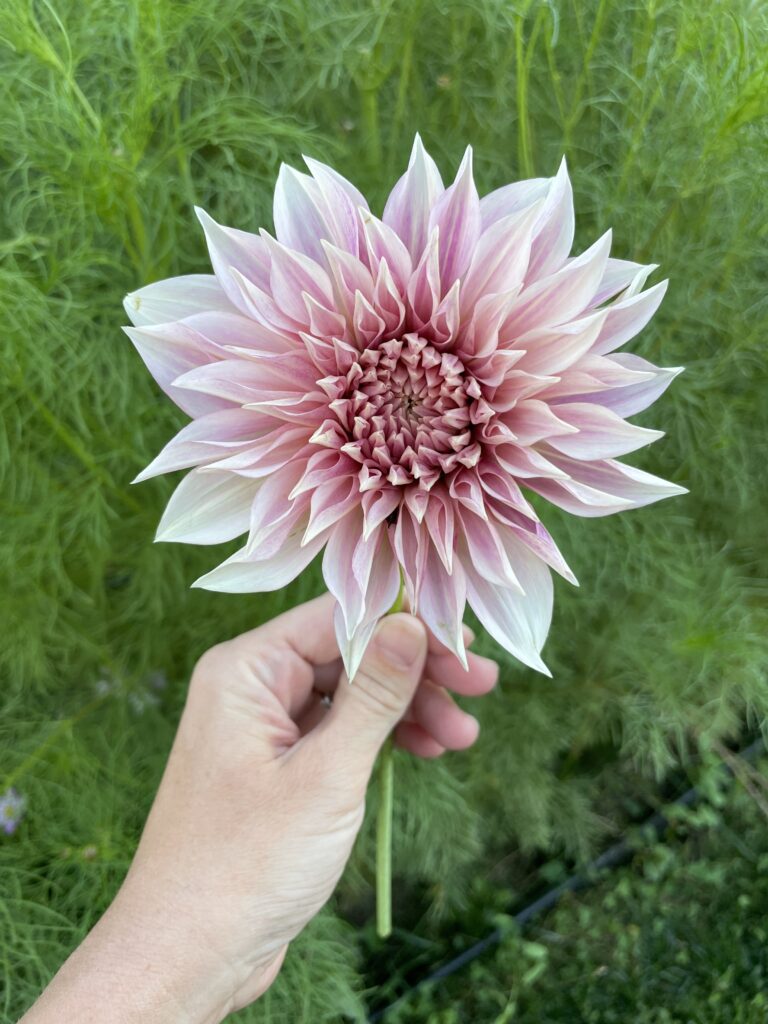
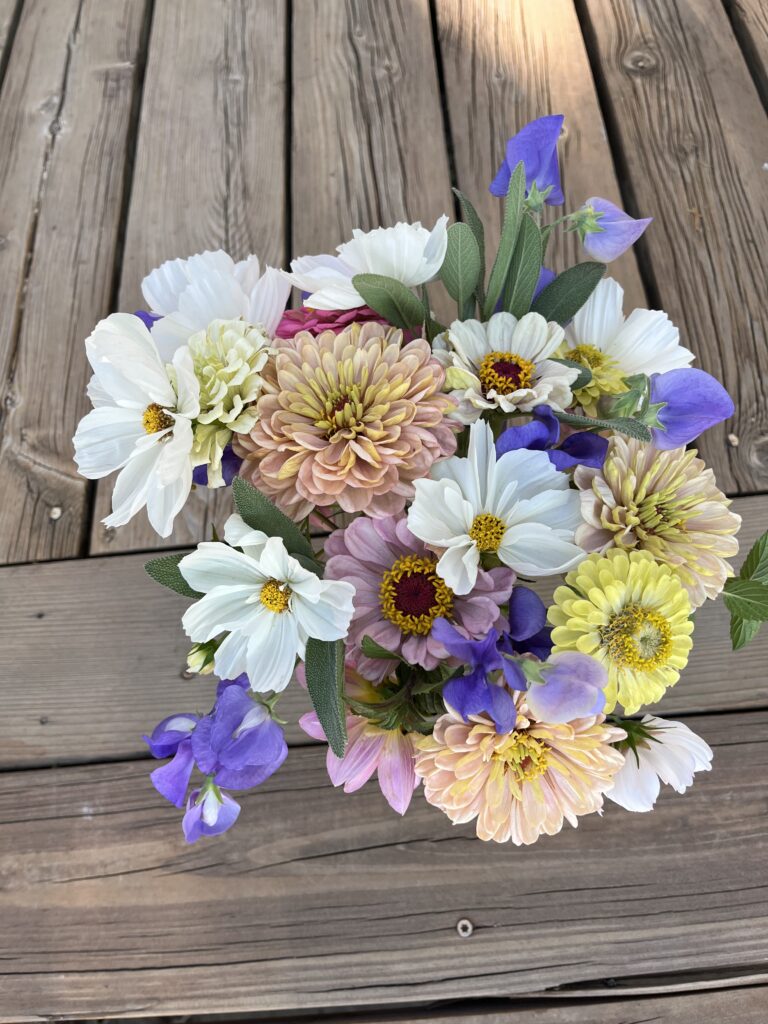
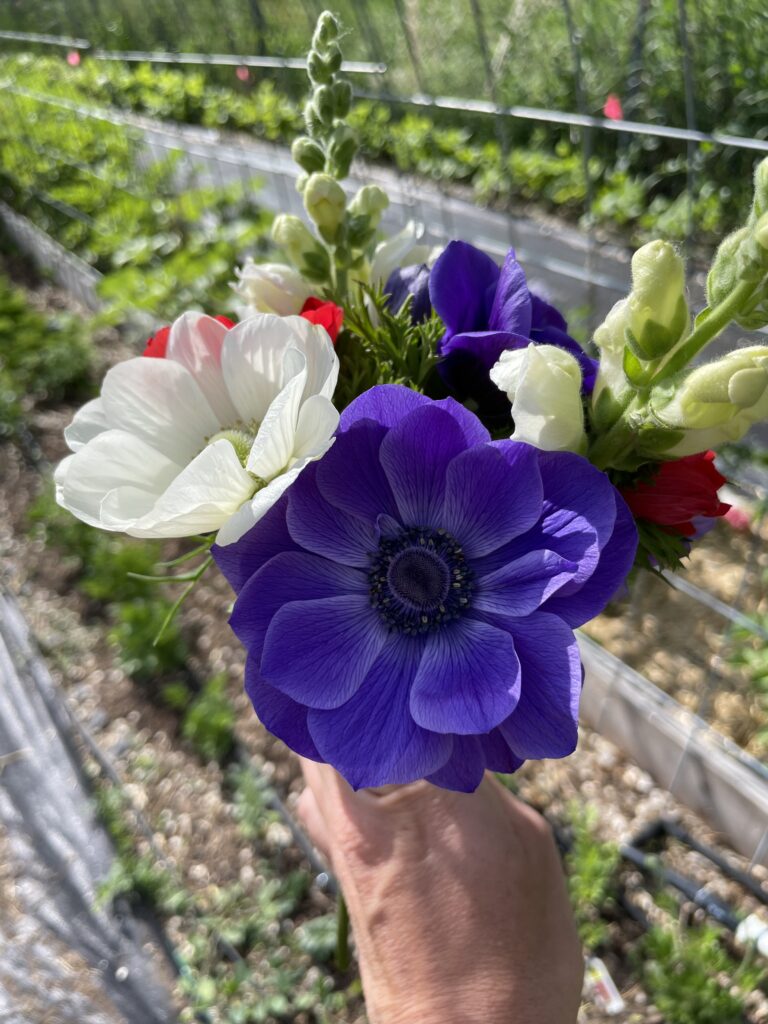
When I first started gardening I was all about food, but I planted a few cosmo seeds. I was amazed at how much joy I got from growing those flowers. I have posted HERE about the best flowers for beginners to grow. I really came to realize that you grow food to heal your body, and
Grow flowers to heal your soul,
Beth